If you stroll through any craft or home decor store lately, I know you’ve eyed the beautiful typography and wood signs that line the aisles. I just love them and have picked up quite a few myself over the years, but what if you want something truly personalized?
Creating your own one of a kind, do it yourself sign is so much easier than you think and the learning curve process might just be the creative outlet you grow to love.
I stopped at my husband’s office the other day and saw their dumpster. My heart fluttered widely. It was filled with wood pallets and I gasped, “What do they do with those? Can I have some?”
I think he was tentative to answer because his mind was filled with all the projects that also made my heart pitter patter that are still waiting patiently to be completed.
“Yes.”
That was all I needed to hear. Free. Wood. Pallets.
My mind raced to this easy tutorial that a sweet reader sent me, and after seeing all her gorgeous painted signs, I knew you would love doing it too.
Often, we just make projects harder than they really are and we assume we need beautiful freestyle hand writing. NOT AT ALL! We just need to try (with the help of great computer fonts, of course.) It might take a few attempts to get it to where you love it, but since we got the wood for free, this is an inexpensive way to learn.
So many of my friends have started their own businesses selling reclaimed pallet wood signs, and I am SO excited for them. Granted, their signs are MUCH nicer than my attempts, but Jamie, from Mom School , shared how she makes hers if we want to give it a try. She now has her own business. (Check out more of her beautiful creations at her Sweet Southern Salvage facebook page.) Yay for mom entrepreneurs!!
If you want to be even more inspired, check out all the DIY Wood Pallet Projects that I’ve showcased!! I just can’t get over how creative they all are.
I love having words of truth hanging throughout throughout our home and this easy tutorial is the perfect way to personalize it.
Do It Yourself Pallet Wood Sign (or any piece of wood :))
List of Necessary Supplies:
1. deconstructed pallet
2. sand paper
3. carbon paper
4. acrylic paint
5. paint brush
6. ball point pen
7. computer/printer1. Once pallet is cleaned and sanded, paint or “wash” (mix paint and water equal parts) your sign in color of your choice.
2. While drying, go to computer and type out the word or quote that you desire to put on the wood
and then print it in the font of choice (*see note below.)
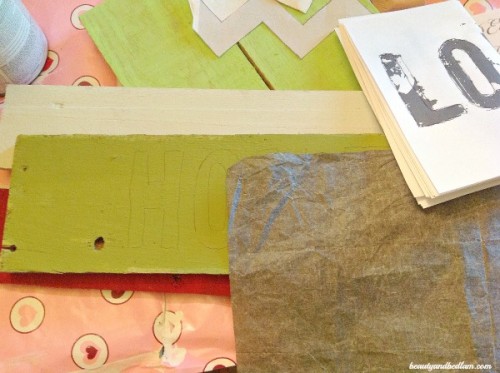
3. For lighter colored boards, take that printed sheet and put carbon paper between it and the
board. Use a ball point pen to trace around the outside of the letters on the printed paper and this transfers a perfect “stencil” for painting. On very dark paints, the carbon won’t show. In those times, I don’t use carbon paper, but I will color with white chalk on the back of my computer paper print out (color the inverted letters), and then place that down on my board and lightly trace over. It will copy/transfer a white chalk line on your board. Works perfect for the dark colors.
4. Paint the outlined letters on the board.
5. Put hanger of your choice on the board and Enjoy!!* A sweet reader just left a wonderful suggestion that will help save on printer ink.“In most word processing programs, you can make the font a “stencil” where just the letters are outlined, rather than entire filled in letters. This saves a ton of ink for your printer! Once you’ve created your text, highlight it (control/A in Word), then open up your “font” menu – in Word 2007 & up, there’s a little teeny arrow at the bottom right corner of the font area when you’re on your “home” tab. When the font menu opens up, look for the “effects” section. Check the box that’s marked “outline” & it makes it a stencil. You can also make it bold, which gives it a heavier line.”
Using the idea of carbon paper is such an easy alternative. I love that tip. You can buy Pattern Transfer Paper for Wood on Amazon or pick it up at any Hobby Lobby or Michael’s craft store.
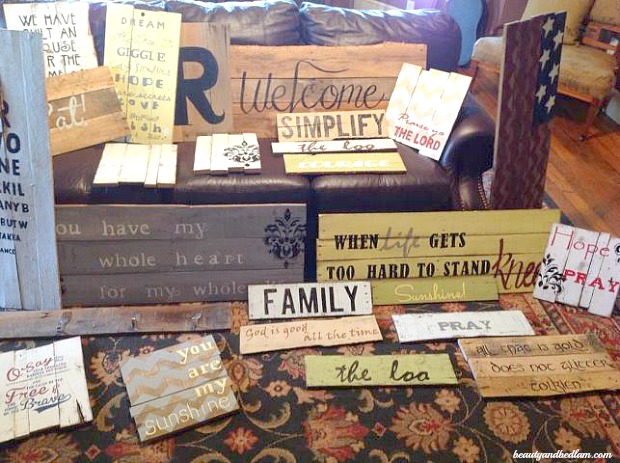
There are sign inspirations everywhere. Stroll through your favorite stores and just look around. You can believe that my next signs will have pops of turquoise, yellow and green. 

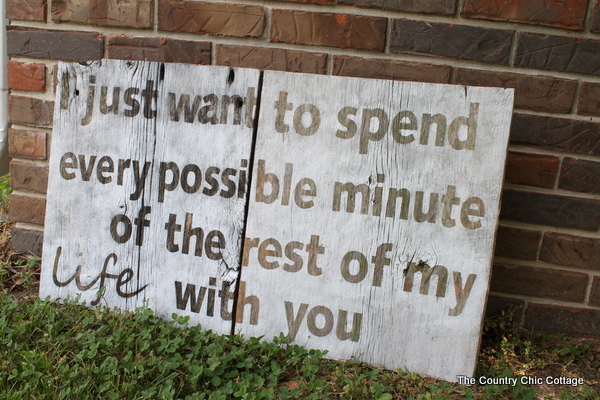
My sweet friend, Angie from Country Chic Cottage, shared how she did a dry brush technique. She put down her vinyl letters and painted over it, and then removed the letters to have the wood show through. I love that option.
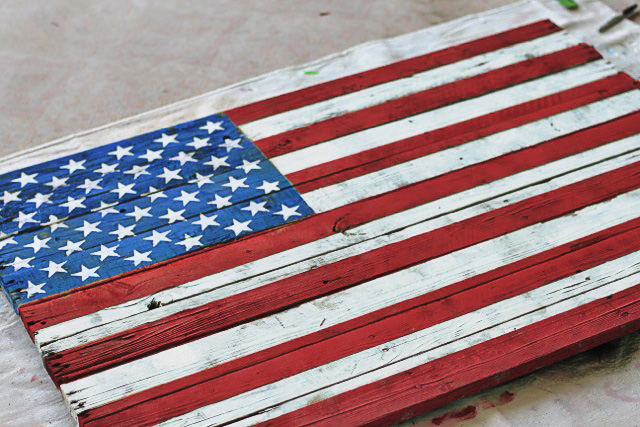
See what I mean about inspiration every where? This is such a perfect display for all of our patriotic holidays.
This is a bit more time consuming, but how gorgeous. Head over to see this DIY Reclaimed Wood American Flag from Lilbluebook.
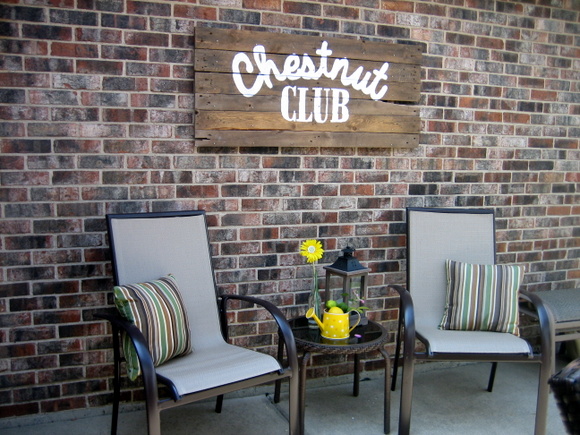
Personalized Pallet Sign for outdoor space from DIY playbook
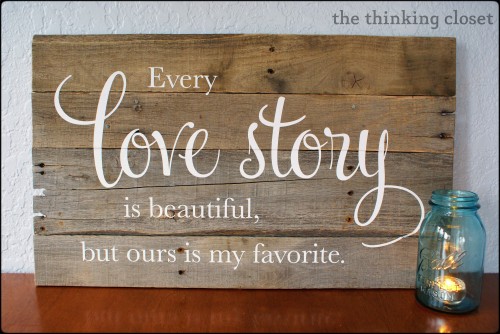
See the detailed directions for this gorgeous sign using Vinyl Lettering at The Thinking Closet
Aren’t these just beautiful? Are you excited to give it a try?
What other creative uses are there for all these pallets?
I’d love to have you help me brainstorm.
What other creative uses are there for all these pallets?
I’d love to have you help me brainstorm.
For further information log on website :
http://beautyandbedlam.com/do-it-yourself-sign/


No comments:
Post a Comment